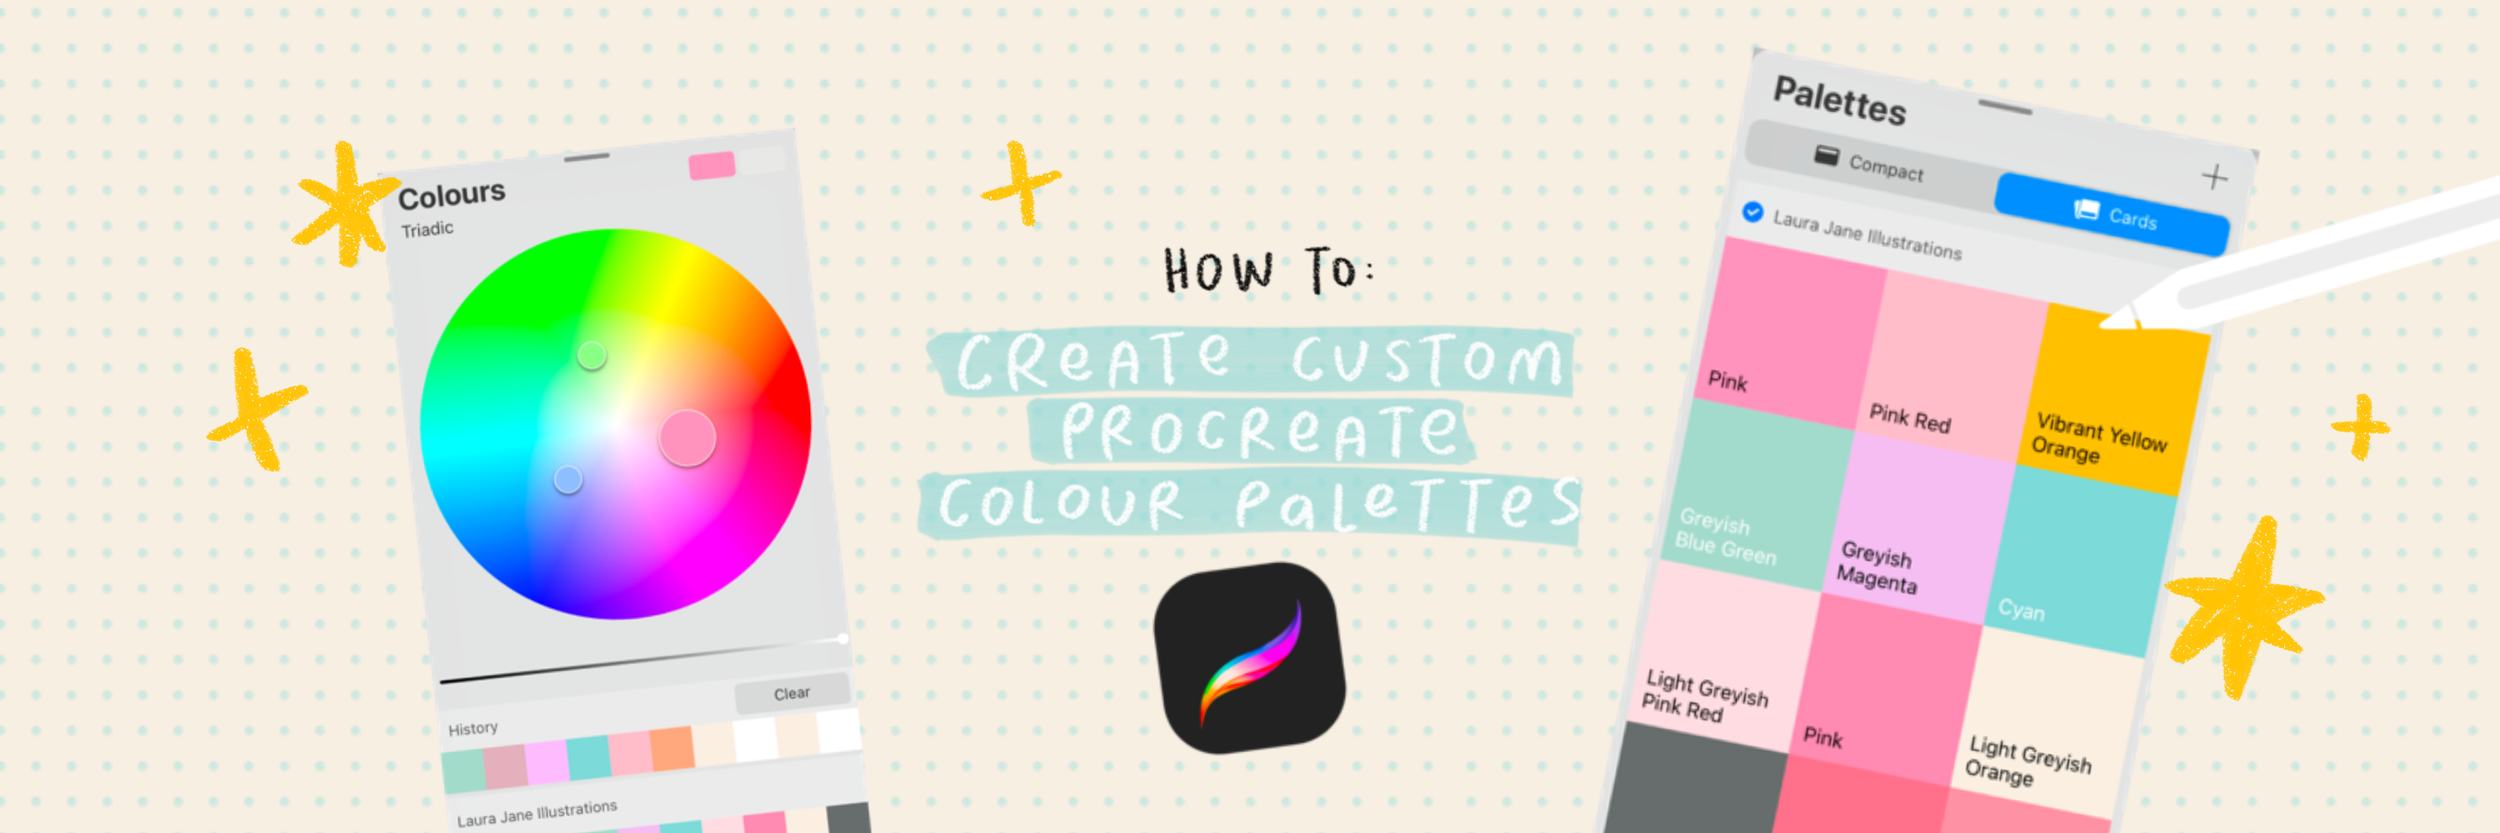
3 Procreate Hacks to Craft Perfect Colour Palettes (every time)
Colour is one of the ‘bread and butter’ elements of my brand and artistic work, and something I continue to love to explore, experiment, and play with. Procreate makes experimenting with and building new colour palettes super easy, thanks to its many colour palette tools. Ditch the colour swatches and hours of arranging pieces of card on your desk to find the right palette - these 3 Procreate colour hacks will help you build perfect palettes every time (even if you’re a beginner).
Method 1: Colour Palette from an Image or Photo
1. Open Procreate and on a new or existing Canvas, tap the circle in the top right corner to open the colour palettes menu. At the bottom of the pop-out, select the ‘Palettes’ tab; this will open all of your current Procreate palettes. In the top right, tap the ‘+’ and select ‘New from File’ or ‘New from Photos’.
2. Browse your photos or files for an image that you would like to create a colour palette from and tap on it to select it and import it into the colour palette library.


3. Procreate will automatically generate a colour palette from the image you selected and add it to your palettes as ‘Palette from Image’, which you can change by tapping on the title in the menu and inputting your own palette name. Your colour palette is now ready to use.

Method 2: The Harmony Tool
1. Open Procreate and on a new or existing Canvas, tap the circle in the top right corner to open the colour palettes menu. At the bottom of the pop-out, select the ‘Harmony’ tab; this will open a colour wheel tool, your current primary palette, and your colour history.
2. To generate a new empty palette, select the ‘Palettes’ tab, tap the ‘+’ in the top right corner, and select ‘Create New Palette’; this new blank ‘Untitled’ palette will now become your primary colour palette.
3. Switch back to the ‘Harmony’ tab. Under the ‘Colours’ title, you will see smaller text; tap on that to select the type of colour harmony you would like to use (you can play around with these to find what you like, but I recommend starting with triadic if you are new to colour theory).
4. Depending on the colour mode you have picked, you will see two to four circles on your colour wheel. Use the triadic palette; there are three circles and you are going to drag the biggest circle (which highlights the key colour) around the wheel to select the first colour for your palette. The harmony tool will then show you two complimentary colours in the other circles.


5. To add these colours to your palette, tap on a circle on the colour wheel to select the colour, then tap on any empty square on your untitled palette to add it to the palette and save it. Repeat for the other circles on the colour wheel.
6. You can continue to move your key circle around the wheel to pick up other colours and add them (as well as their complimentary shades) to your palette. Four to six colours is usually best for a robust but not overly fussy palette.
Method 3: Manual Colour Picker
1. Open a previous piece of art you created (or an image that you would like to use as reference for your palette). Tap the circle in the top right to open the colour palette tool and select the ‘Palettes’ tab from the bottom left. Tap the ‘+’ in the top right to create a new untitled palette.
2. Select the ‘Classic’ tab from the bottom menu. Press and hold anywhere on your canvas to bring up the colour picker, then drag it to select a colour from your artwork or image that you like.
3. Tap any empty square in your palette to add the colour to your custom palette.


4. You can also use the classic colour tool to refine the colour or to pick up lighter and darker shades of the same colour and add variation to your palette.
5. Repeat this process to collect any other colours in your artwork or image that you would like to add to your palette.