
How to plan, create & publish and your first illustrated book
In the winter of 2019 I had the ultimate 'pinch me' moment when I signed a book deal with my wonderful publishers, Familius, for my first illustrated mini book. I could never have guessed on that day that I would end up working on this book, having no experience with book publishing or illustration up to this point, during a global pandemic!
In a way I am grateful for the space that lockdown in 2020 gave me to work on my book, however there were a lot of days where it felt like I'd reached my emotional capacity as I tried to navigate remote working (as a preschool teacher) and also how to actually create an illustrated book. At the time that I put my book together, there was very little information out there that focused on how to create illustrated or picture books; while some of the stages of creating a manuscript for a book are similar, there are obviously big differences too given that your work is much more dependent on the visuals. So I muddled my way through, and while my process was far from perfect, I got there in the end.
If I was to go through the process again there is a lot I would do differently, mainly I would spend much more time on the planning phase so that I had references and visual aids to support me as I created the artwork for the first drafts. So, if you're in the process of or planning to create an illustrated book or a book that leans heavily on visual aids and artwork, here is my step-by-step guide on just how to do it...
step 1: planning
Maybe you have a rough idea about what you want your book's focus to be, or maybe you just know you want to create an illustrated book of some description; either way your first step needs to be some 'imperfect' planning. What I mean by this is that your focus should be on idea and concept generation at this point - don't think about order/sequence or which ideas work with each other just yet (we'll work on that later). You need to have a few brainstorming sessions to start getting as many ideas as possible out of your head and onto paper (or post-its). Here is a suggested brainstorming roadmap to follow:
5-10 minutes: list as many potential book 'topics' as you can
3 minutes: look over your topics & choose 1 that you are most excited about - this will become your working title (you can of course refine this a bit more later). You might also choose a second, similar topic (this could become your subtitle)
15 minutes: list as many ideas as you can think of relating to your chosen topic. These can be favourite quotes, books, references you would use, personal stories you could link to, strategies, tips, projects, activities - just get as many ideas as you can onto paper.
step 2: outline
At this point you should have a long list of ideas that could be used or included in your book; if you've written these as a list I recommend that you cut up the list so that each idea, tip, activity, etc., is on an individual piece of paper. The next thing to do is spread out all these pieces of paper on a big table (or the floor) and start sorting them in a way that begins to makes sense. Put similar concepts together and these will form the basis for the sections or even chapters, of your book.
When you have grouped your ideas, think about what the best order to sequence these groups would be if they were to appear in your book; and then within each group, think about how you might sequence the ideas or activities. You have now created the first outline of your book. I recommend that you stick it up on a wall so that you can refer to it as you being the next steps, or convert it into a written document, but either way it's always helpful to hold onto this initial brainstorming work as a source of inspiration you can look back on.
step 3: visual outline
As this is an illustrated book, the next step is to create a rough visual outline - this means looking at your brainstorm wall and beginning to outline how this would covert into visuals. Sketch out rough page spreads and layouts for as many of the ideas you have generated as you can. Your aim should be to create a story board, again ideally you should display this somewhere that you can refer to as you work on your book.
step 4: first draft
Now begins the real work, and probably the phase that will be most labor and time intensive. Using your outline and story board, begin working through the book, idea by idea, page by page and creating your first draft of the full manuscript. If your book combines visuals and narrative it's best to work on these separately first; so writing out the manuscript of the book, then creating the visuals and finally working on how to lay the text over the illustrations.
step 5: reviewing and editing
If you are working with a publisher the next step is to submit your first drafts for review; usually you will then work with an editor who will go through your book in digital format, page by page and give you notes. Because this is an illustrated or picture book, you will also more than likely work with the art department who will advise you on how to improve layout of the pages and spreads.
The editing phase can be a bit tedious and will involve a lot of over-and-back and meetings to pour over each tiny detail of the book to get it just right. However, this will all be worth it in the end when you know you've put out the best possible version of your work that you could.
step 6: cover art
While the book is the editing phase is usually when work on the cover art will happen; you might want to discuss this with your editor or publisher and discuss what everybody's vision for the book will be. For creating your cover art it's a good idea to create a few options that you can have mocked up; if this is your first book presenting a few options (no more than three) to your publishers is a great way to get feedback about what might market better. Similar to when creating the artwork for the book, you will have to work with the art department to lay out the cover art for the final design and more than likely do some editing until it's 'just right'.
step 7: submitting final draft
Book deals usually come with deadlines and milestones to meet, and good thing too because at some point the editing has to come to an end and everyone has to agree on a final draft. Once this is agreed all that's left for you to do is turn over your final files. Again because this is an illustrated book this will more than likely mean vectorising your work and submitting layered files that the art department can easily edit if needed.
Your publishers will then usually present you with a mock up of the book; this might be in digital format but in some cases this can include physical mockups of what the book cover or jacket will look like too. Once this is approved it's off to print and time for you to turn your attention to marketing in preparation of publication day!
order my book
☻
order my book ☻

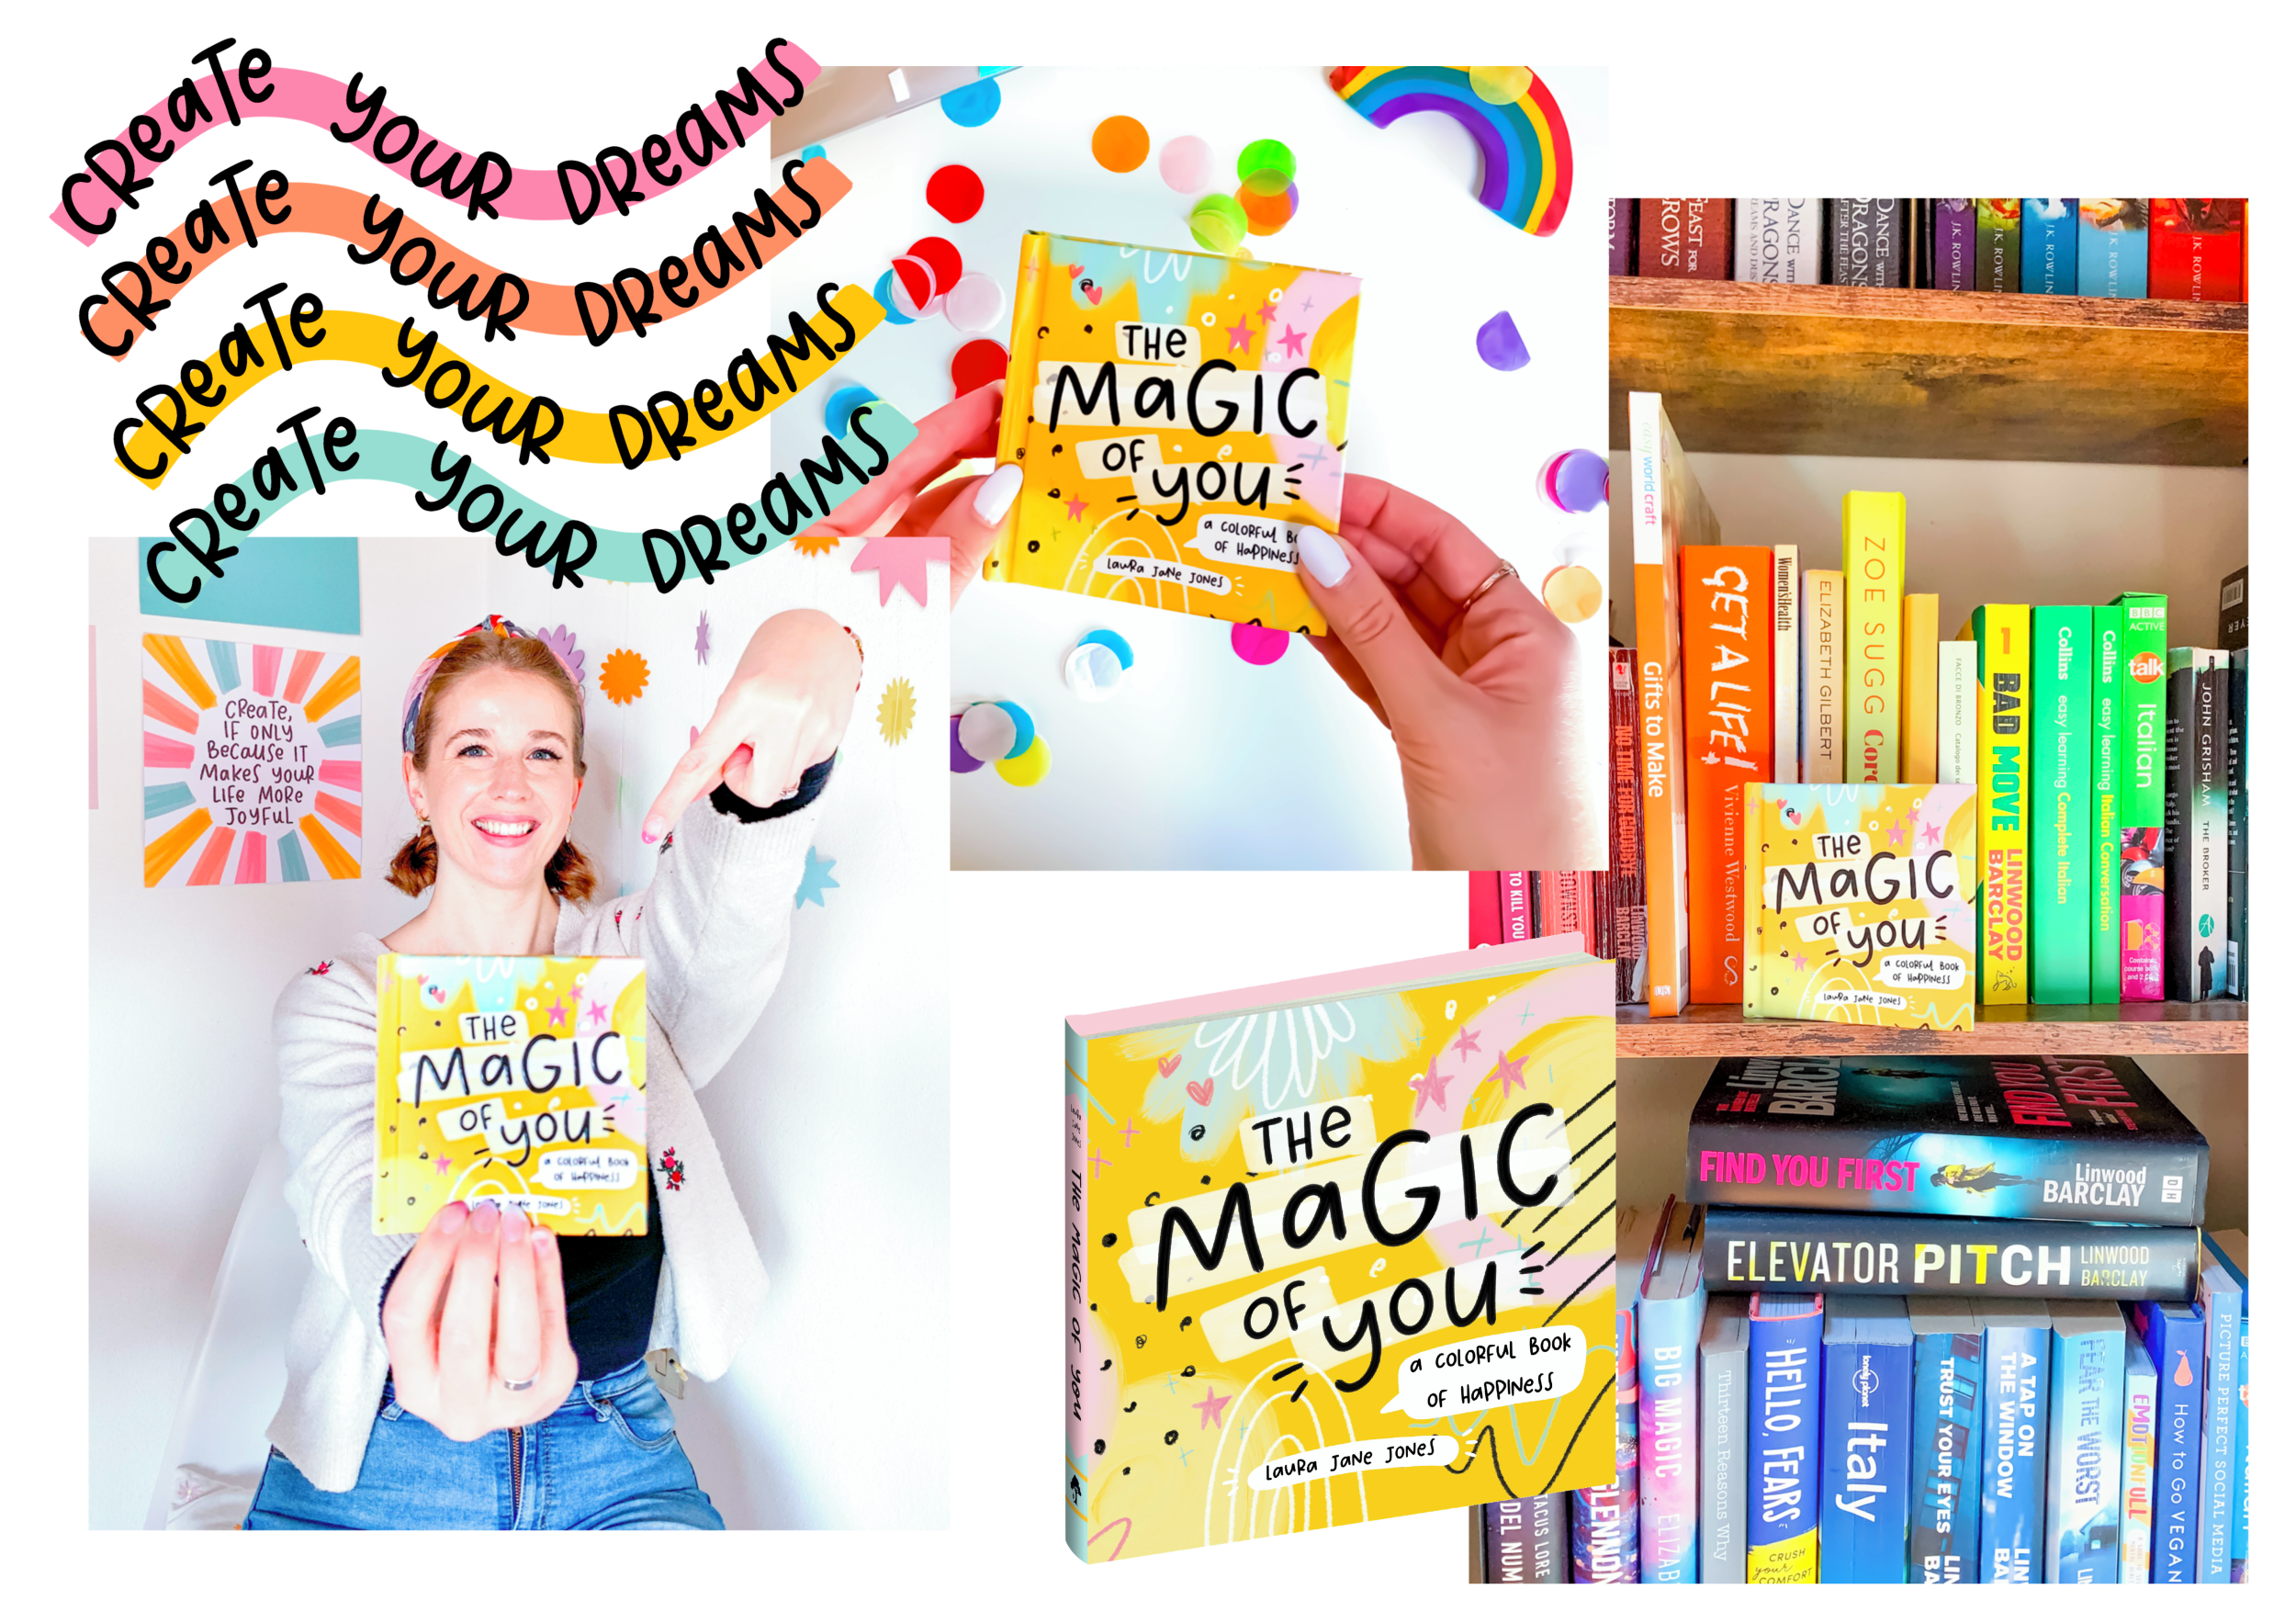
The Magic of You: A Colorful Book of Happiness
From the popular Instagram accounts @laurajaneillustrations comes a collection of illustrated quotes and affirmations to help you love yourself in every color of the rainbow.