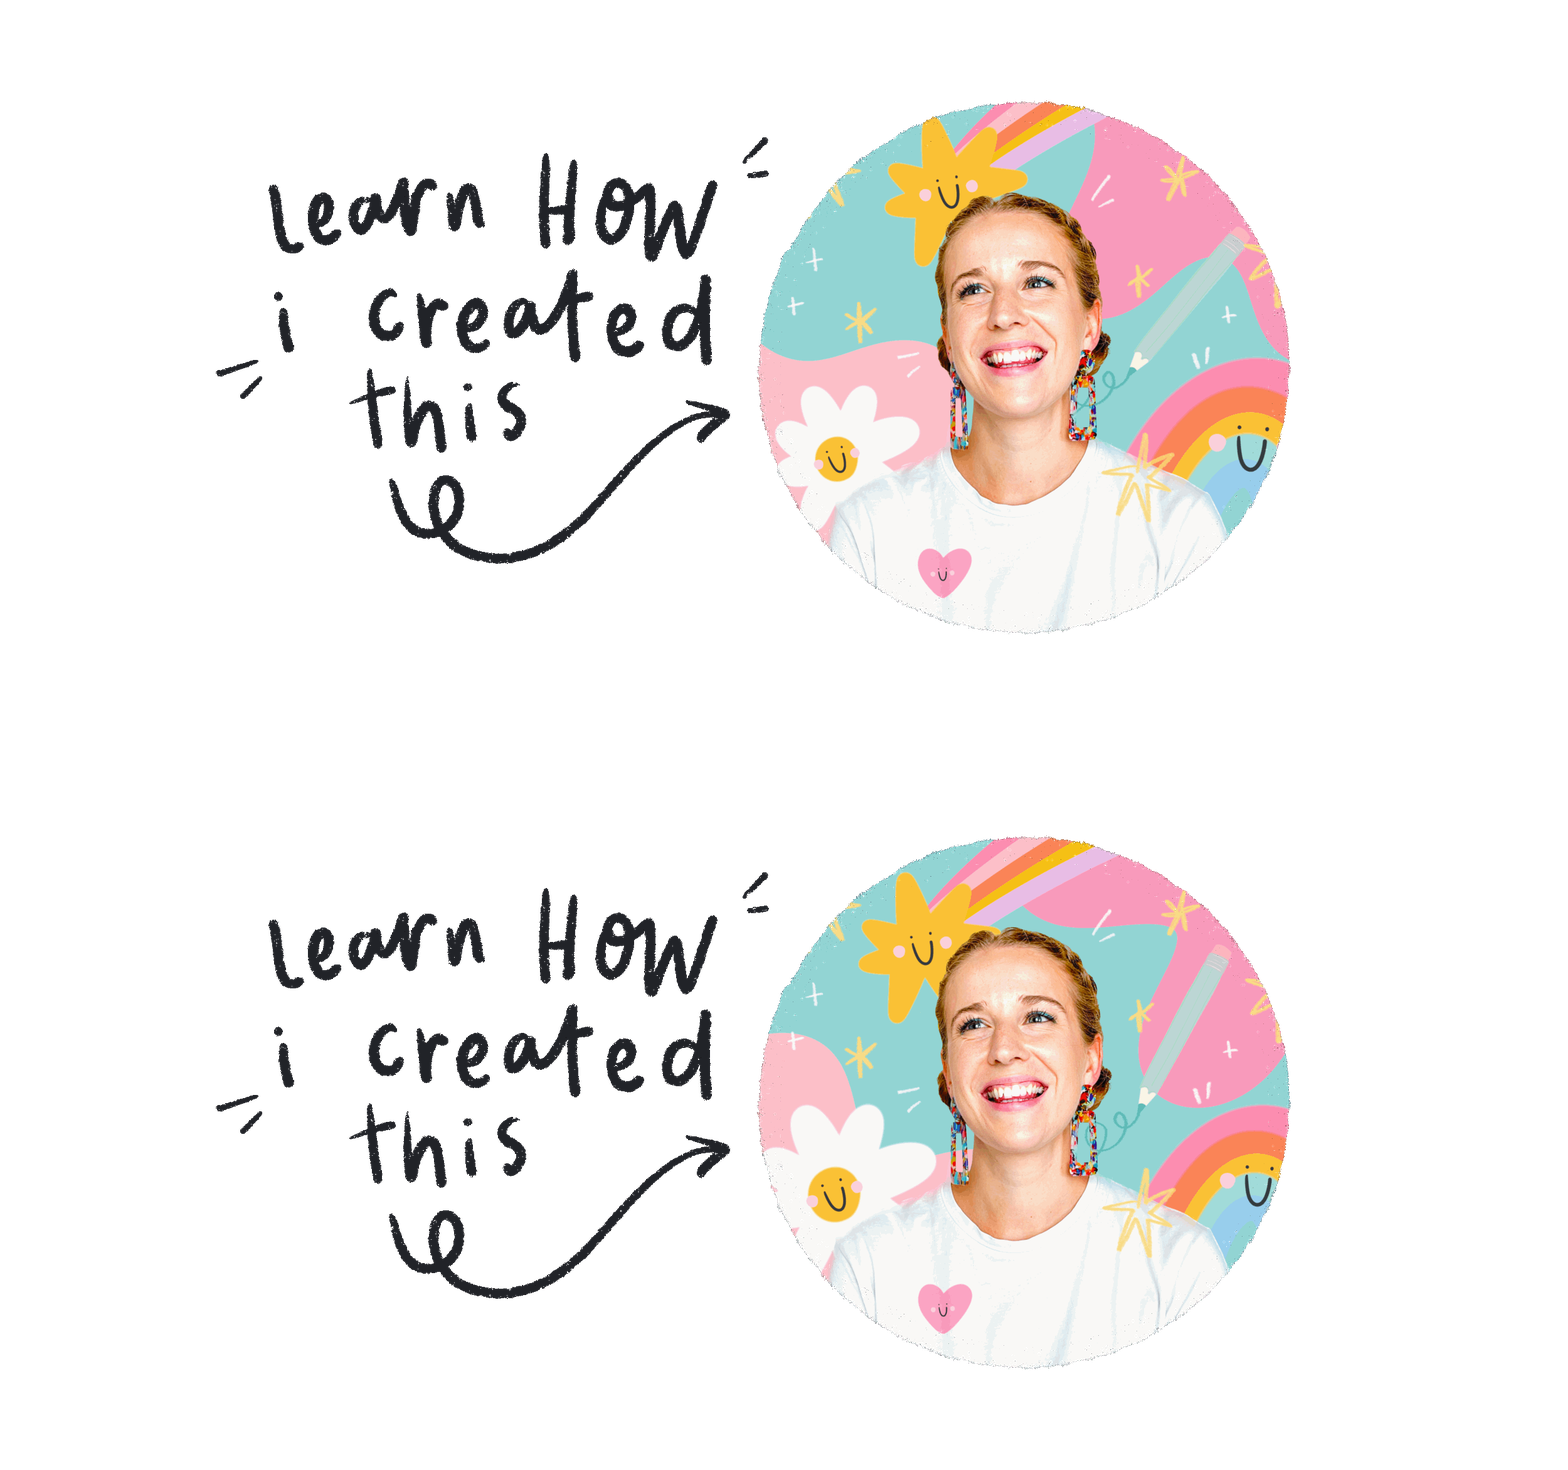
How to create an animated Profile Picture for TikTok
There are many reasons we all love to love TikTok - but a personal favourite of mine is that you can have a GIF or animated profile image on your profile. This small extra personalisation option can add heaps of fun and personality to your profile page and give you a second chance to share who you are with new potential followers.
If you haven’t already set up your video profile image on TikTok, in this blog post I’ll not only outline exactly how you can do that, but I’ll also walk you through how you can use the Animation Assist feature in Procreate to create animated profile images that are on brand, eye-catching and stand out from the crowd.
useful apps for editing:
TikTok app (on any device) with a profile already set up
Procreate App (available for iOS)
iPad & Apple Pencil
camera phone
Lens Buddy App
Epik
Lightroom
Step 1: Take a new photo
To bring your profile photo to life you are going to need two or more photos of yourself in slightly varying poses, against the same background. A blank or white wall is a great option because it makes it easier to remove the background later (if you wish to do this).
Set up your camera phone on a tripod and use a timer or shutter release app (like Lens Buddy) to take 2-5 photos. For each shot move your body or pose slightly differently.
Top tip: make sure your photos are close up and focus on capturing your head and shoulders, but also leave negative space to crop the images down later.
Step 2: Choose your favourites & make touch-ups
Select your favourite photos (you can choose as many as you like but you need a minimum of 2) and import them into your preferred editing app to make any lighting edits you need. My personal favourite app for batch photo editing are Epik and lightroom.
Top tip: apply the same filters or adjustments to all photos so they flow seamlessly in your animation
Step 3: Create a Procreate canvas with Animation Assist enabled
In your Procreate gallery create a new 1:1 canvas (1080x1080 px). In your canvas settings menu toggle on Animation assist.
Step 4: Import your photos
Use the ‘add photo’ option in the canvas settings menu (or select all your photos in your camera roll and drag them into your canvas) to import all the photos you took and edited. If you haven’t already cropped your edited photos to 1:1 ratio, select all your photos in the layers menu and use the resize tool to fit them images to the canvas and position them the way you want.
Step 5: Animate & Style
At this point, you can test your animation by tapping play in the animation assist toolbar (located at the bottom of your canvas) and adjust your frames down to 4 or 5 frames per second (tap on the settings in the animation toolbar and toggle the frame rate up and down to find the best speed).
What you should end up with is a sort of stop-motion animation created by the changing poses in each photo. You can rearrange the photos in the layers menu to edit the movement and you can add illustrations or text to each image to stylise the animation to fit your personal brand (see more in the YouTube video below).
Step 6: Saving & sharing your animation
Once you are happy with your animation, tap the canvas setting, select to export your canvas as an ‘animated MP4’ and save it directly to your camera roll.
Now open the TikTok app, head to your profile and select ‘edit profile’. In your profile settings you will see the option to upload a profile photo and a profile video; select to add a new profile video and select your animated MP4 from your camera roll. Tap save and now when you return to your main profile you should see you animation as your profile image.


