Spooky Halloween Lettering Tutorial: Easy Bubble & Drippy Lettering Guide
Difficulty Level: Easy
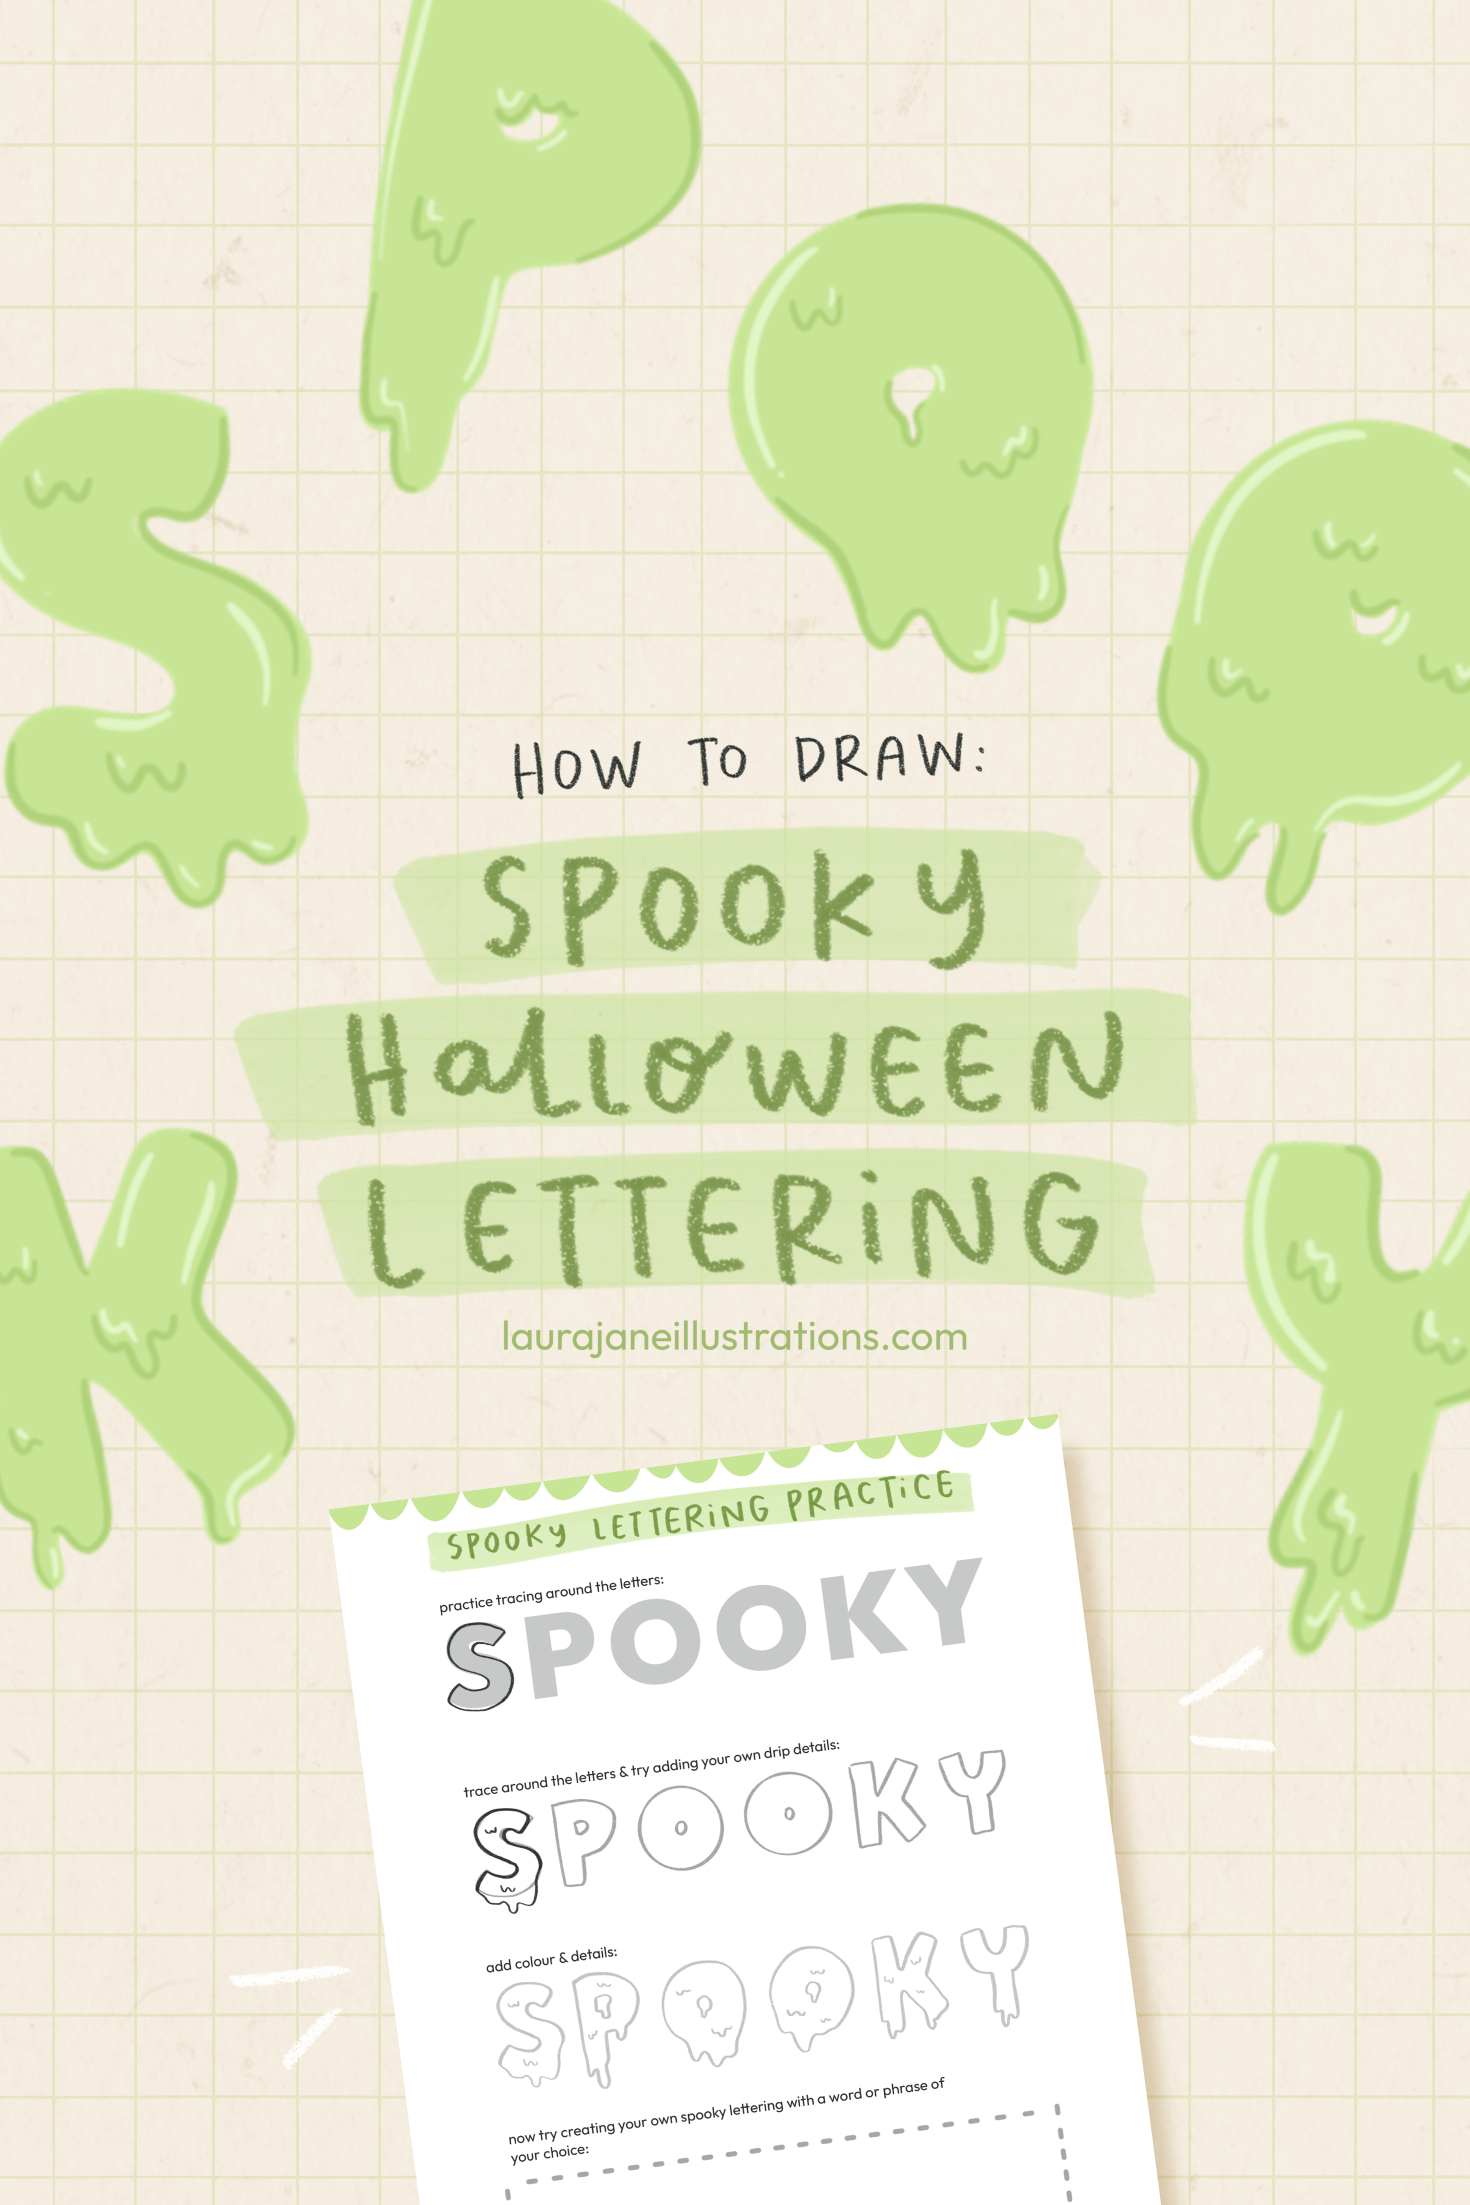
Let’s learn how to create some spooky, drippy Halloween bubble lettering, perfect for your next Procreate project or to create fun seasonal decorations and displays. Scroll to the end of the guide to download the FREE practice sheet, perfect for printing or importing into your favourite digital illustration app to use as a guide and to watch the video lesson head on over to my Patreon
Step 1: Create Your Text Guides
If you are working digitally, start by creating a new project canvas in your favorite illustration app and add text in a simple, plain font, typing out the word or phrase you would like to letter. If you are working on paper, use a stencil or simply sketch out the word/phrase.
Step 2: Outline Sketches
Using your base text as a guide, trace around the letters to create an outline.
Step 3: Add Drippy Details
Once you have sketched an outline around each letter, add some simple drip shapes to the bottom of the letters. You can also include some extra squiggles inside the outline to create the idea that the letters are melting or slimy.
Step 4: Clean Up Your Lines
On a new layer, use a monoline brush to clean up your outlines, then detail or toggle the visibility off on your guide and sketch layers. Now, your spooky, drippy letters are ready for coloring, printing, or any other creative projects you have in mind.


